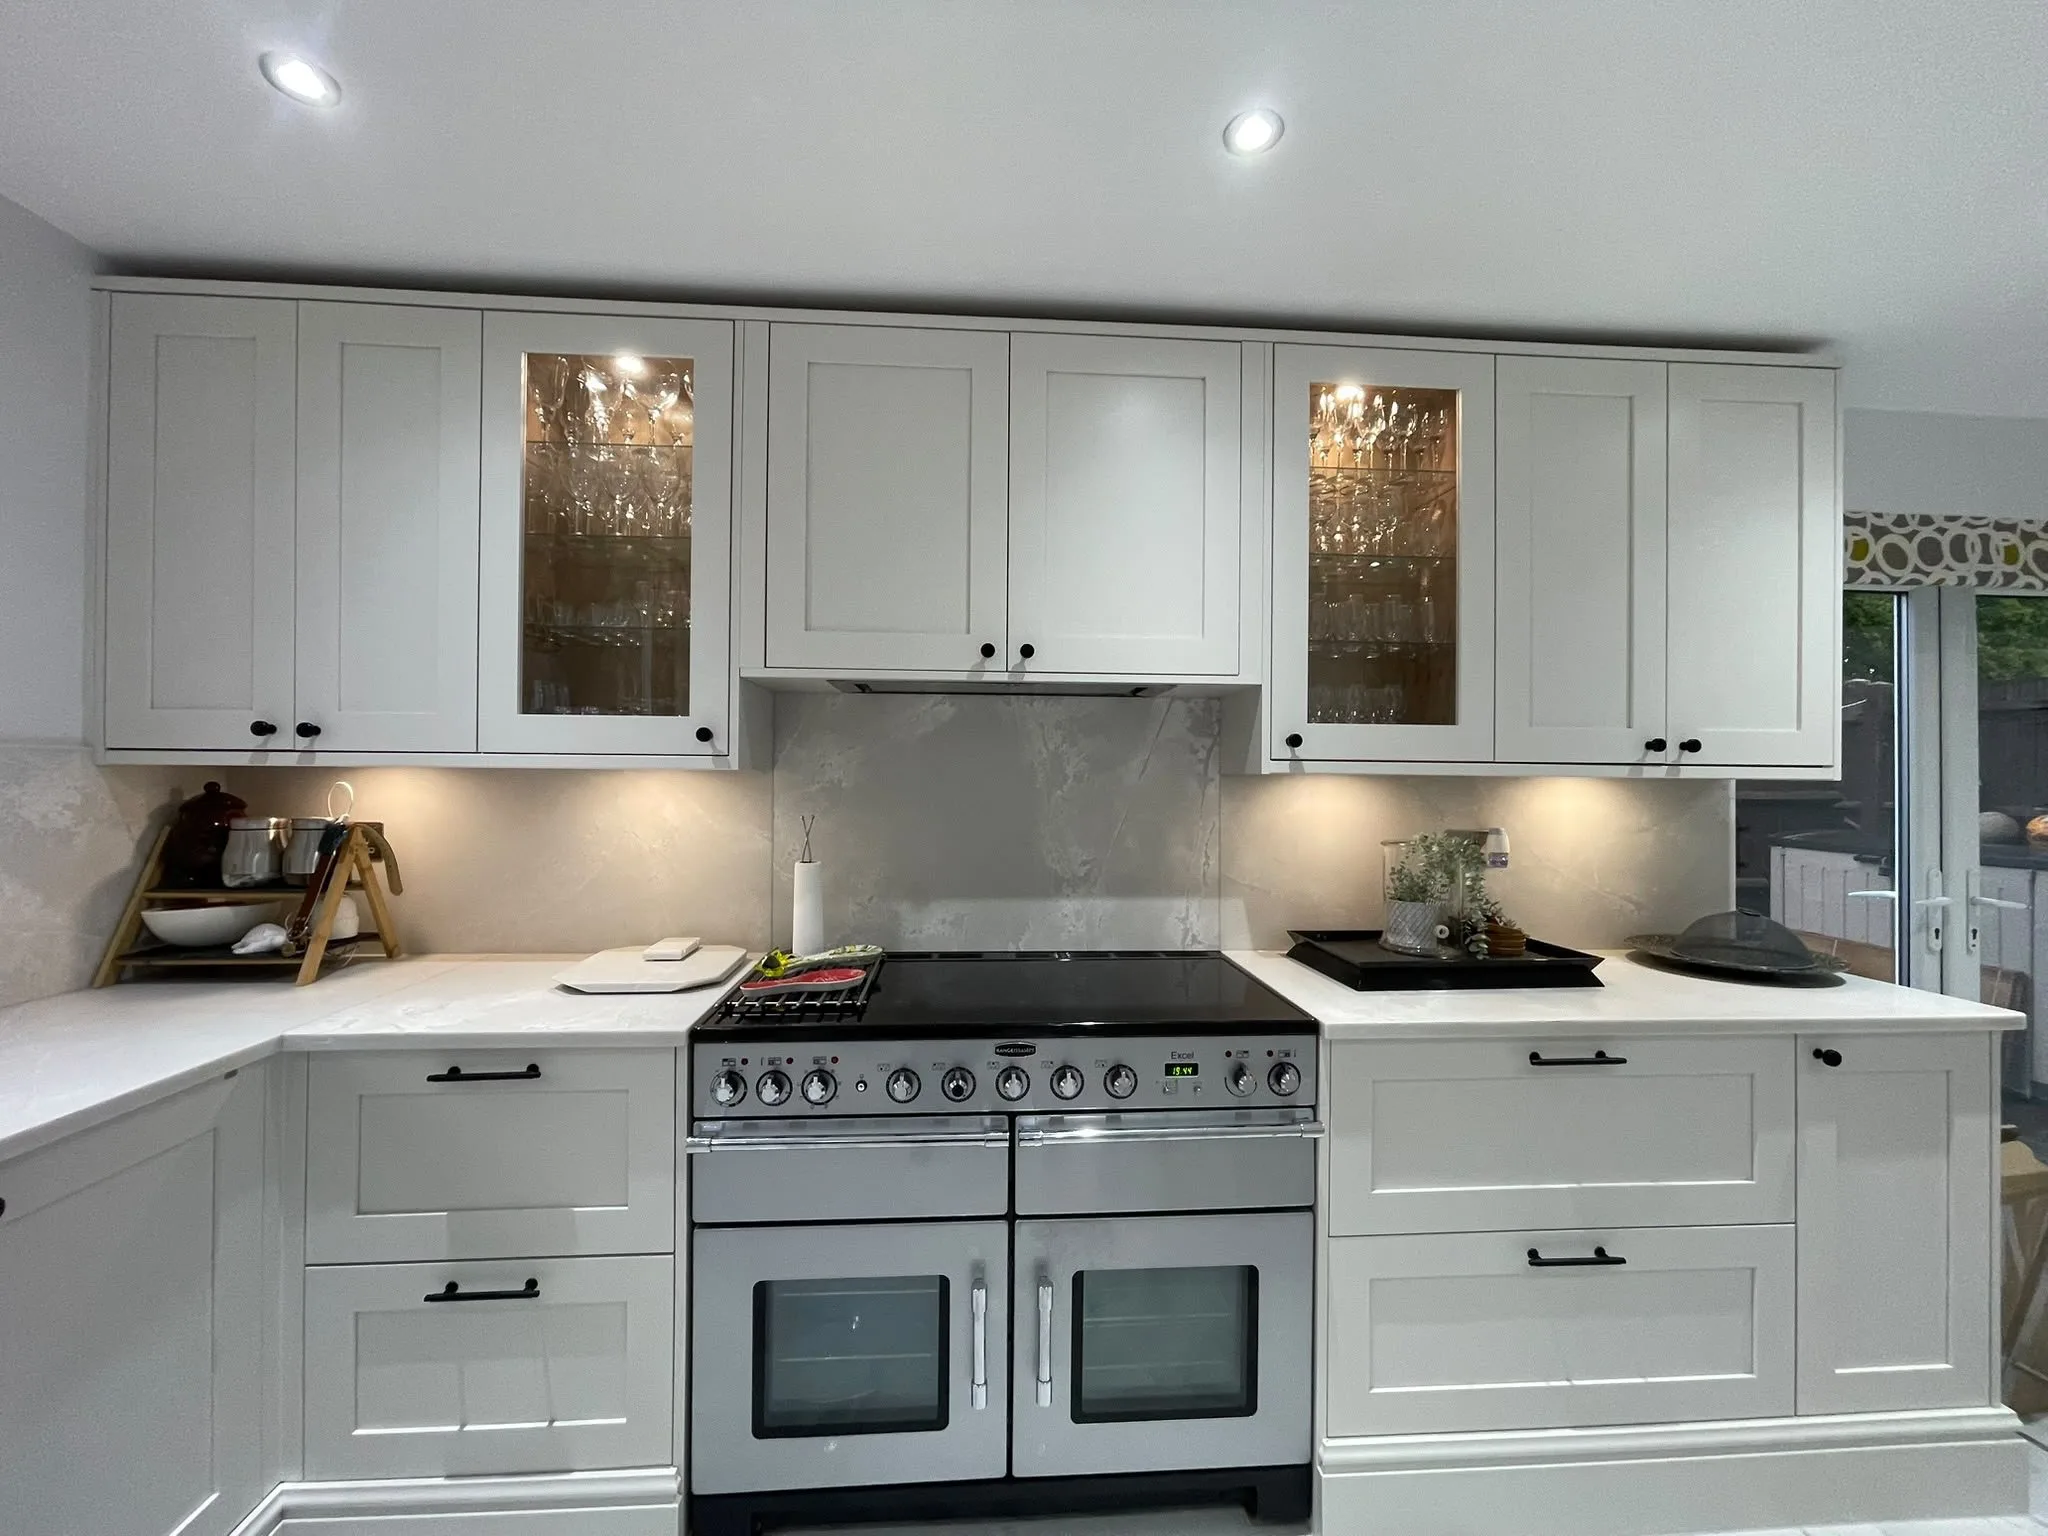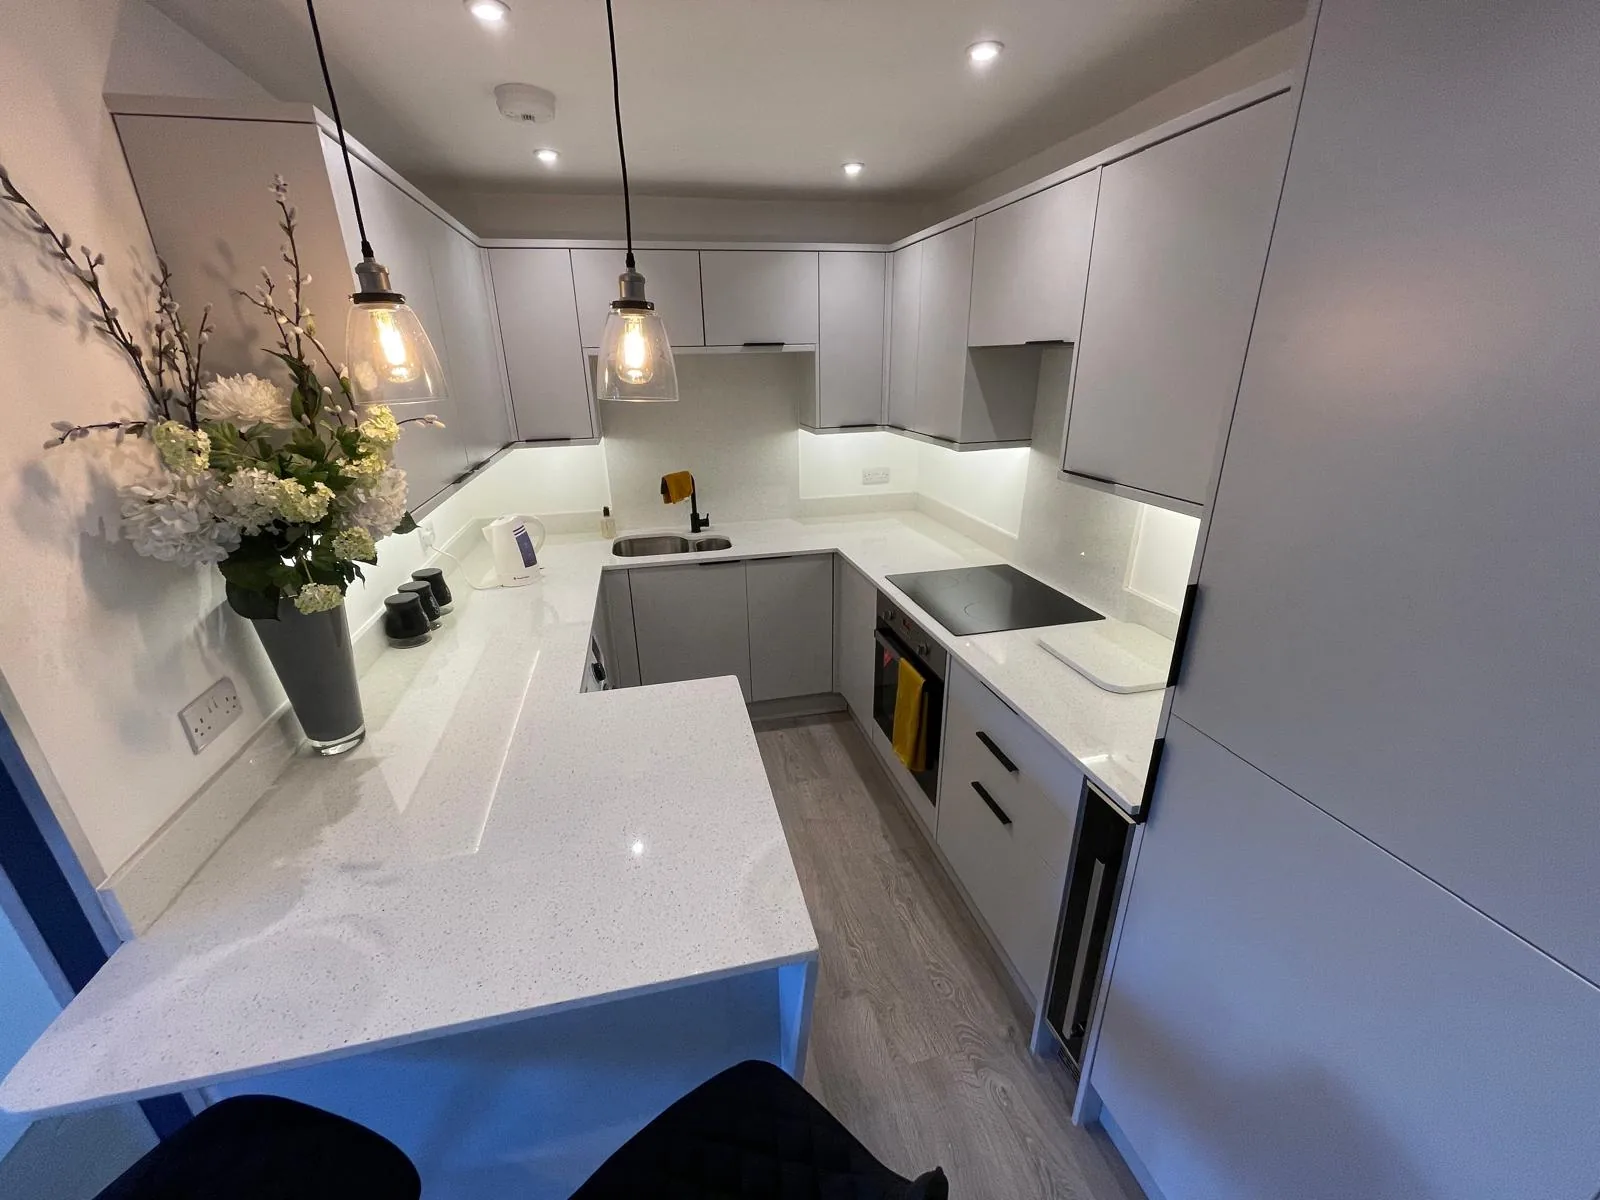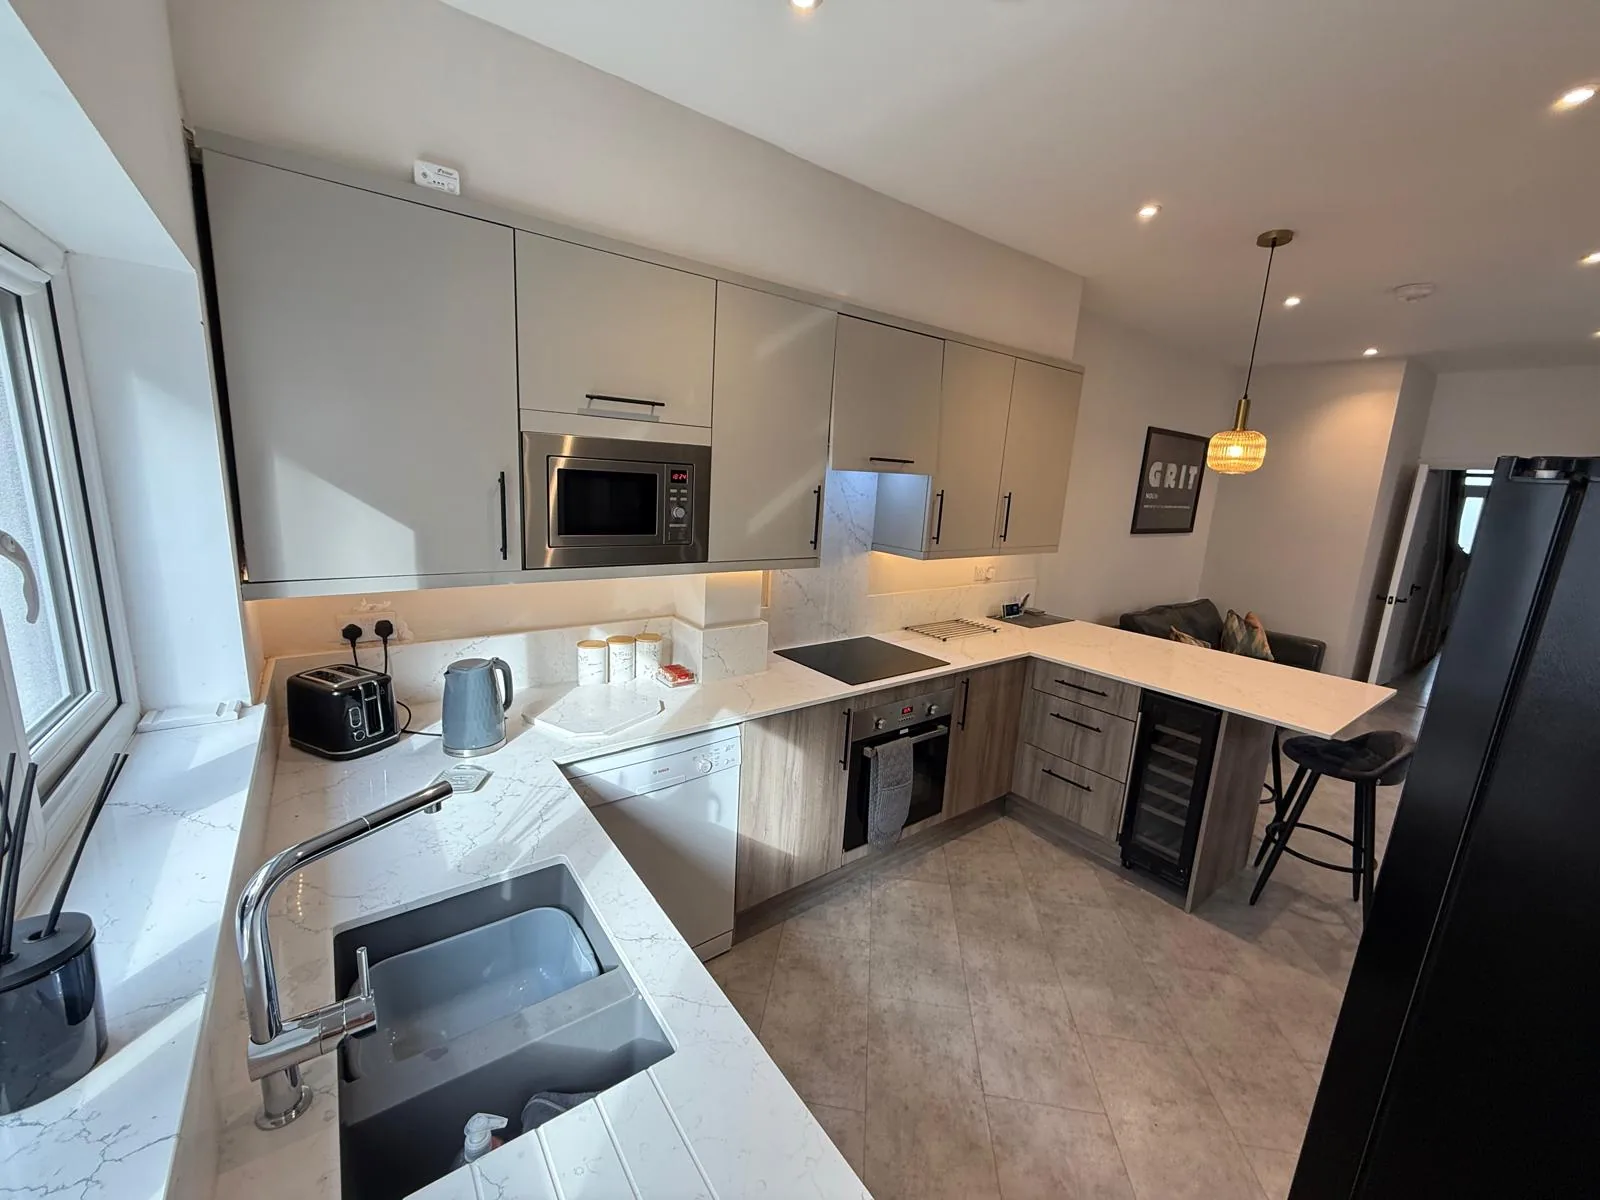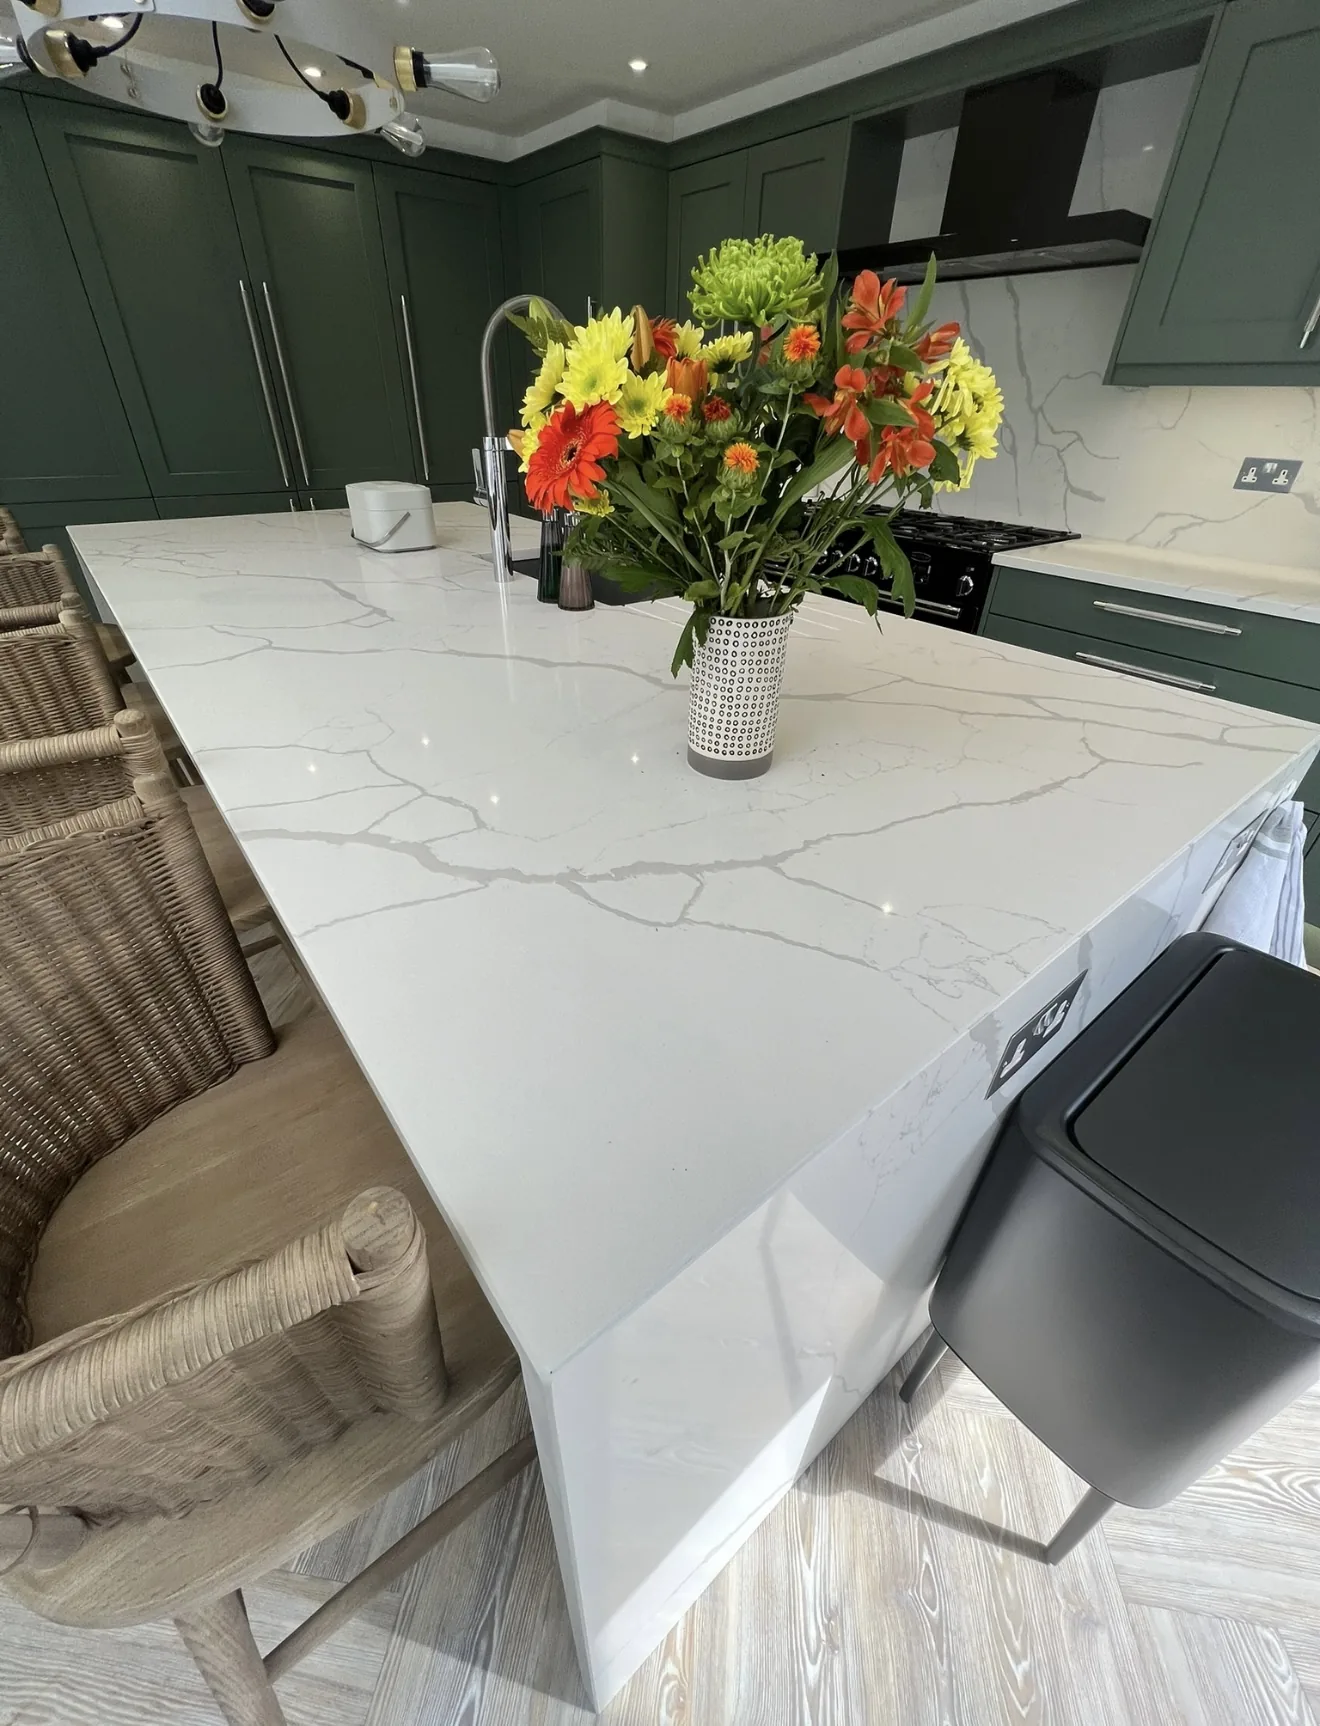
People spend weeks choosing a colour and thirty seconds choosing an edge. It is the wrong way round. The edge sets the visual weight of the whole worktop, it is the part your forearms rest on while you cook, and it is where damage happens. Here is how the profiles differ in practice.
Key points
- Thickness and profile are separate decisions: a mitred apron builds thickness from the same slab
- Mitre work is the fairest test of a fabricator, and the biggest edge-related cost swing
- Square and pencil round are easiest to clean; rounded profiles survive knocks best
- Hold a profiled sample against your actual door fronts before choosing
- Edge work should be itemised by the linear metre on your quote
01 / 04
Thickness and profile are two separate decisions
First you decide how thick the worktop should look. Then you decide what shape the front edge is. They get talked about together, but they are priced and made differently.
Most slabs we fit are 20mm or 30mm. If you want the look of a chunkier top, we do not buy a chunkier slab. We mitre. A mitred edge takes a strip of the same slab, cuts both pieces at 45 degrees and glues them into an apron, so a 20mm slab reads as 40mm, 60mm or more. Done well the joint is invisible and the top looks solid. Done badly you see a hairline all the way along the front of your kitchen, which is exactly why mitre work is the fairest test of a fabricator you will ever get.
A mitred apron is significantly more labour than a profile cut into a full-thickness slab. That is the single biggest edge-related swing in a quote, and it is worth knowing before you compare two prices that look different for no visible reason.
02 / 04
The profiles, and what each is actually like to live with
Square (with a fine arris)
- A flat front face with the sharp corners eased off by a hair so they do not chip
- The modern default. Reads clean, suits handleless and slab-door kitchens
- Sheds water off the front rather than letting it run underneath
- The eased arris is not optional: a genuinely sharp 90-degree corner in stone will chip
Pencil round / quarter round
- A small radius on the top corner, or top and bottom
- The most forgiving profile for everyday knocks and the kindest to forearms
- Slightly softer look than square, and sits well in shaker and painted kitchens
- Our most-fitted profile on 20mm and 30mm tops
Bullnose and half bullnose
- A full or partial semicircle across the front face
- Traditional look, very tactile, extremely durable at the corner
- Water will follow the curve under the edge, so it wants a well-detailed drip line
- Can read as dated in a contemporary kitchen. Think about it against your doors
Bevel / chamfer
- An angled flat, typically small, cut across the top edge
- Catches light along the front of the run, which lifts a dark stone
- Visually thins a thick top, so it works well on a 30mm slab
- The bevel face collects a fine line of grime and wants wiping properly
Mitred apron (40mm, 60mm, 80mm and up)
- Built up from the same slab, so the pattern carries around the corner if it is cut in sequence
- The architectural look, and the reason most modern islands look expensive
- Substantially more labour and more slab used than a plain profile
- Only as good as the fabricator, so ask to see a mitre before you commit
Waterfall end
- The stone turns 90 degrees and runs down to the floor at the end of an island
- A mitre on its side, and the most demanding cut in a domestic kitchen
- Needs the vein or pattern carried around the corner, so the slab must be cut in sequence and dry-assembled before it leaves the workshop
- Uses considerably more material than a standard end panel
03 / 04
The practical things nobody mentions in a showroom
Cleaning. Every profile with a recess, a groove or a tight radius traps a fine line of grease along the front of the run. Square and pencil round wipe clean in one pass; ornate profiles do not. If you have a busy kitchen and no patience, that matters more than the styling.
Chipping. Damage happens at the front edge, at corners, and at the edge of a sink cut-out, and nowhere else in our experience. A rounded profile survives a knock that a sharp square edge would chip. If you have young children at worktop height, or a narrow galley where people carry pans past a corner, weight that heavily.
Where the edge sits against the units. On a handleless kitchen with a routed rail, a heavy bullnose fights the detail below it. On a traditional in-frame kitchen, a stark square 20mm edge can look mean. Worth deciding the profile against your actual door front rather than from a drawing, which is what the template visit is for.
Drainer grooves. If you want grooves milled into the top beside the sink, they interact with the edge: they need enough material in front of them to run to, and they are a priced extra. Decide about them at the same time as the edge, not later.
04 / 04
How to actually decide
Step by step
Step 1: Start with the thickness
Look at the kitchen doors. Slab and handleless usually want 20mm square or a 40mm mitre. Shaker and in-frame usually want 30mm with a pencil round or a bevel. Islands can carry more weight than wall runs.
Step 2: Then eliminate on cleaning and chipping
Be honest about the household. That usually removes the more ornate options in about ten seconds.
Step 3: Then look at it in your kitchen
We bring samples with the profile on them. Put it on the units, against the doors, under your own lights, and stand where you normally stand.
Step 4: Confirm it at the template visit
The edge profile is agreed and recorded at templating, along with the join positions and the cut-out layout. After that it is in the drawing and it is what we cut.